This post contains affiliate links. By purchasing an item through an affiliate link, I earn a small commission at no extra cost to you.
What I'm Using
For this tutorial, I'm going to be using:
- An iPad - I currently use an iPad Air 4 and Apple Pencil 2
- Procreate - currently version 5.2
- The Monoline brush from the Calligraphy brush set that comes with Procreate
Step 1: Set up the Canvas
Whenever I want to create a new brush, I start by creating a square canvas. Today I'm going to be using a 12" by 12" canvas at 300 DPI.
I also always make sure that the colour of the brush I'm going to be using is true black (#000000), and my background colour is true white (#ffffff).
Step 2: Draw a Circle
- Use the Monoline brush to draw a circle. Hold down with your pencil and using your other hand, tap with one finger to turn your shape into a perfect circle.
- Fill in the circle by colour dropping in the black brush colour.
- Next tap on the Move Arrow, select Uniform and turn on Snapping.
- Make the circle a bit smaller and move the circle to the center of the canvas until you see two yellow lines appear so that it is perfectly centered.
Step 3: Duplicate the Circle
- Open the layers menu and swipe left on the circle layer and tap Duplicate.
- Tap on one of the circle layers and move it to the top of the canvas so that it touches the edge (without going over). It should be in line with the center circle - make sure a vertical yellow line appears while moving the circle up.
- Duplicate the circle again and now move it down to the bottom of the canvas until it touches the edge. There should now be 3 circles in a row - this is the base image for the brush.
Step 4: Create a New Brush
- Swipe down on the canvas with 3 fingers to bring up the Copy and Paste menu. Tap on Copy All.
- To create a new brush, open the Brush Library and tap the + sign.
Step 5: Edit the Shape Source
- Tap on the Shape menu on the left and next to Shape Source tap the edit button to open the Shape Editor.
- Tap Import and then Paste to paste the 3 circles from the canvas.
- Tap with 2 fingers to invert so that the shape is now 3 white circles on a black background.
- Tap Done to save the Shape Source.
Step 6: Edit the Brush Settings
- Staying in the Shape menu, turn up Rotation until it says Follow Stroke.
- In the Apple Pencil menu turn Opacity down to None.
- In the Stroke Path menu turn the Spacing down to 9%.
- In the Properties menu turn Maximum Size all the way up to Max and turn Orient to Screen OFF (this step is very important).
- As an optional step, in the Stabalisation menu turn StreamLine Amount to about 80% to make your brush smoother.
- Tap Done to save the brush.
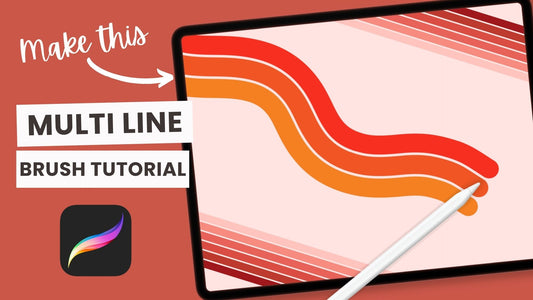
I hope you enjoyed making this brush! If you struggled with any of the steps, make sure to check out the YouTube video above for a visual explanation.