What I'm Using
For this tutorial, I'm going to be using:
- An iPad - I currently use an iPad Air 4 and Apple Pencil 2
- Procreate - currently version 5.2
- The Monoline brush from the Calligraphy brush set that comes with Procreate
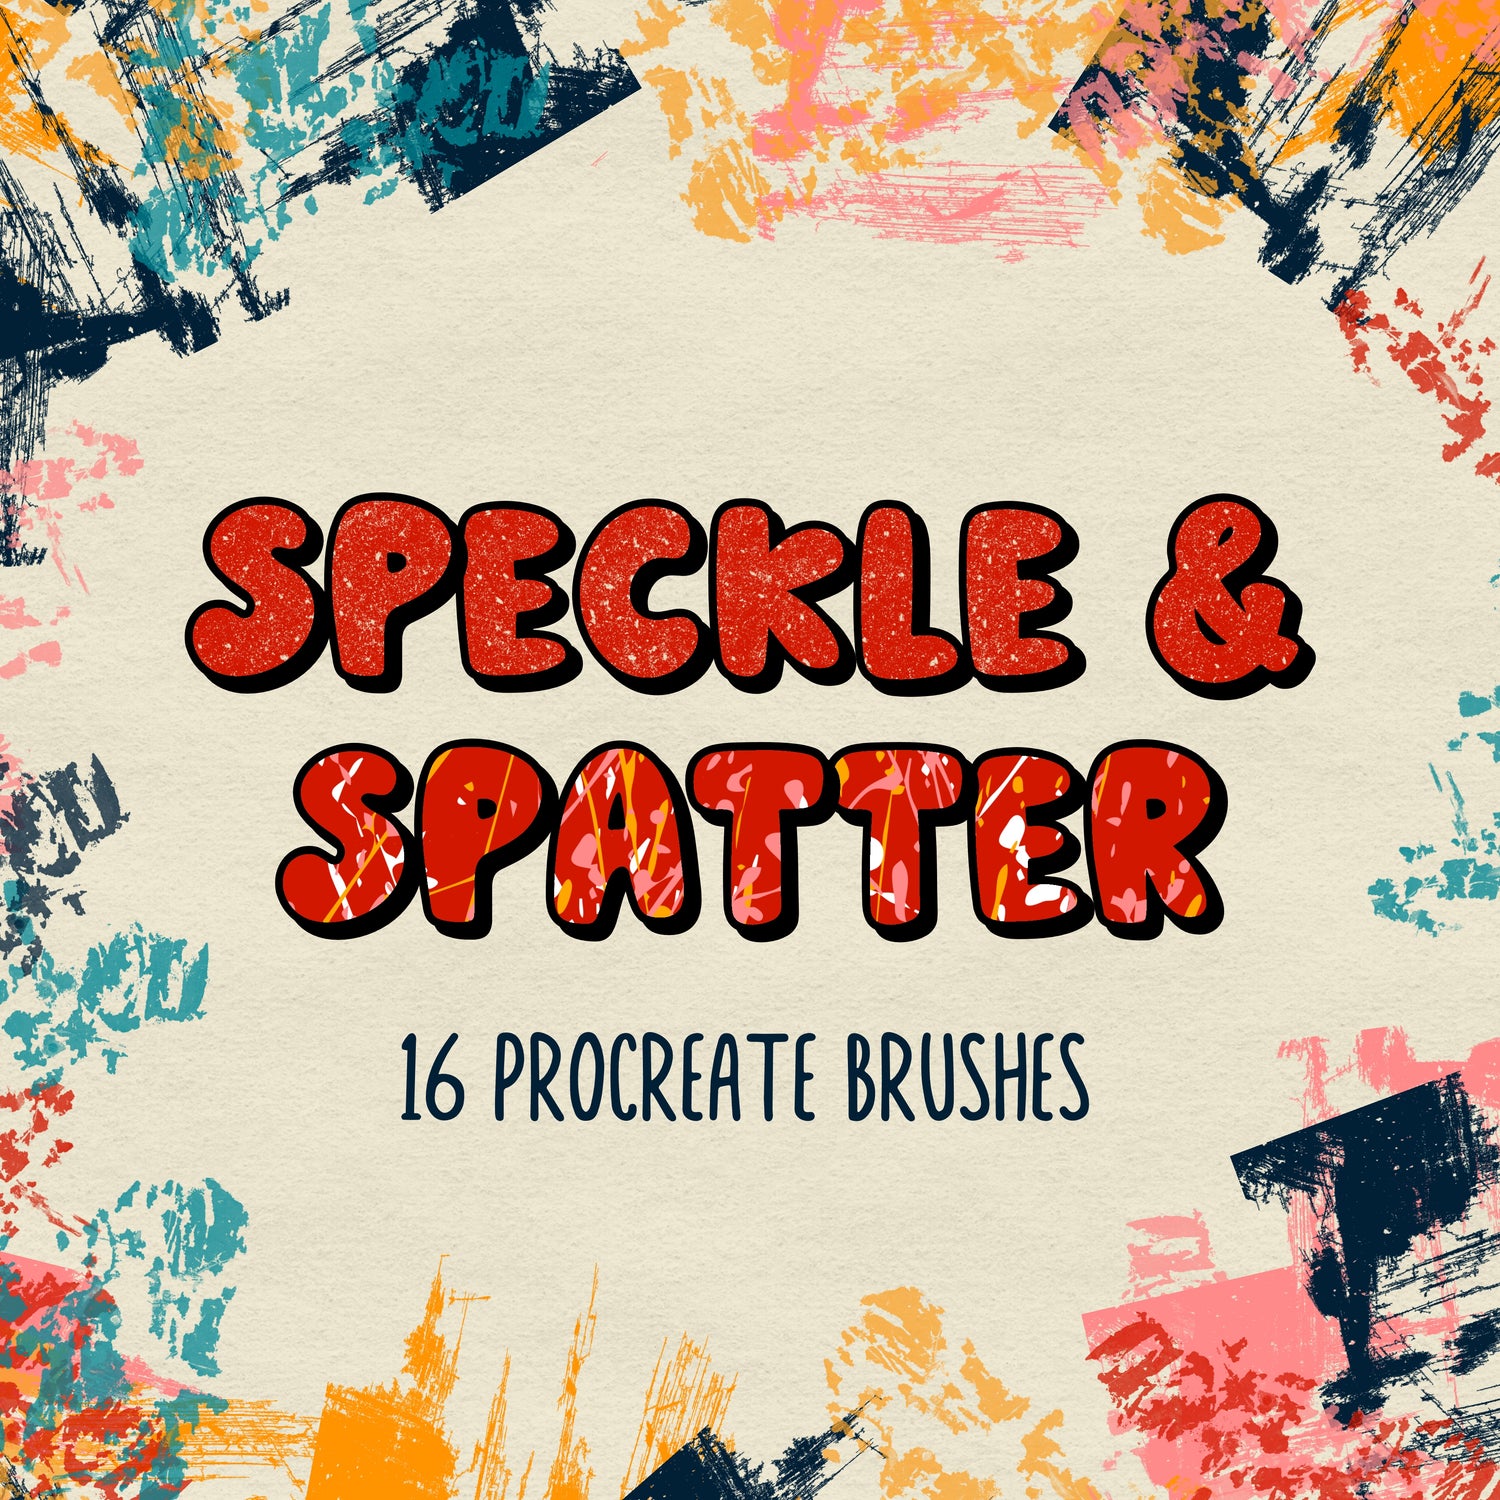
- The design I'm using was created with my Retro Doodle Stamps - you can how I created it here.
Step 1: Set up the Design
If your sticker design isn't already in Procreate, create a new canvas and import it. If your design is already in Procreate make sure the whole design is on one layer.
Turn off the background layer so your design is the only layer visible on the canvas.

Step 2: Create the Outline Layer
- Swipe right on your design layer and tap Duplicate so you have two separate layers with your design.
- Edit the bottom design to be a solid color. There are multiple ways to do this, but I like to use the Alpha Lock method:
- Alpha Lock the layer, either by tapping on the layer and then tapping Alpha Lock or using the gesture shortcut and swiping right on the layer with two fingers.
- Select the color you want your outline to be, tap the bottom layer and select Fill Layer.
- Turn off Alpha Lock.

Step 3: Blur the Outline Layer
- Select the outline layer and open the Adjustments menu.
- Tap Gaussian Blur and start swiping right on the canvas to increase the amount the layer is blurred.
- Make sure the blurred layer is covering the entire design - I find around 20% - 25% usually works well, but it will depend on your design.

Step 4: Fill the Outline
- With the outline layer still selected open the Select menu. Make sure the Automatic option is selected.
- Tap anywhere outside of the blurred layer and swipe all the way to the left until the Selection Threshold is at 0%. Everything but the outline should be blue. If you need to adjust what is selected swipe right until you are happy with how thick the outline will be.

- Tap Invert so that the outline is now blue.

- Open the Layers menu, tap on the outline layer and select Fill Layer.
- Your outline layer should now be a solid color. If there are any empty spots in your outline layer you can use a brush or the color picker to fill them in.

Step 5: Smoothing the Outline (optional)
This technique works really well to outline sticker designs, but if you zoom in you will see that the outline edges are a little bit bumpy. This can be a problem if you are going to be cutting out your design with a Cricut or other cutting machine.
As an optional step to smooth out the edges:
- Select a smooth monoline brush (I like to use the one from the Calligraphy brush set) and choose the same color as your outline.
- Slowly trace around the edge of the outline layer until the outline is smooth.

I hope this helped to create outlines for your sticker designs! If you have any questions, feel free to ask in the comments below.
